正文
)
def forward_once(self, x):
output = self.cnn1(x)
output = output.view(output.size()[0], -1)
output = self.fc1(output)
return output
def forward(self, input1, input2):
output1 = self.forward_once(input1)
output2 = self.forward_once(input2)
return output1, output2
其实这个网络并没有什么特别之处,它可以接收一个100px * 100px的输入,并且在卷积层之后具有3个完全连接的层。
在上篇文章中,我展示了一对网络是如何处理数据对中的每个图像的。但在这篇文章中,只有一个网络。因为两个网络的权重是相同的,所以我们使用一个模型并连续地给它提供两个图像。之后,我们使用两个图像来计算损失值,然后再返回传播。这样可以节省大量的内存,绝对不会影响其他指标(如精确度)。
对比损失
我们将对比损失定义为
 等式1.0
等式1.0
我们将Dw(也就是欧氏距离)定义为:

等式1.1
Gw是我们网络的一个图像的输出。
PyTorch中的对比损失看起来是这样的:
代码片段:默认边际价值为2的对比损失:
class ContrastiveLoss(torch.nn.Module):
"""
Contrastive loss function.
Based on: http://yann.lecun.com/exdb/publis/pdf/hadsell-chopra-lecun-06.pdf
"""
def __init__(self, margin=2.0):
super(ContrastiveLoss, self).__init__()
self.margin = margin
def forward(self, output1, output2, label):
euclidean_distance = F.pairwise_distance(output1, output2)
loss_contrastive = torch.mean((1-label) * torch.pow(euclidean_distance, 2) +
(label) * torch.pow(torch.clamp(self.margin - euclidean_distance, min=0.0), 2))
return loss_contrastive
数据集
在上一篇文章中,我想使用MNIST,但有些读者建议我使用我在同篇文章中所讨论的面部相似性样本。因此,我决定从MNIST / OmniGlot切换到AT&T面部数据集。
数据集包含40名测试对象的不同角度的图像。我从训练中挑选出3名测试对象的图像,以测试我们的模型。
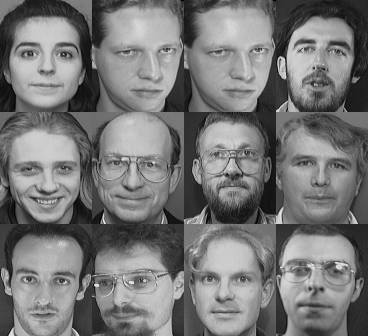
不同类的样本图像


